How to build your planner
Customize your planner by putting the pages in the order you want them! Once the outer packaging has been removed, set everything on a table and snap in each cover (one at a time) to hold the discs in place, then start fitting in the pages. This process will only take a few minutes.

-
1. Choose your cover
-
2. Choose your insert
-
3. Choose your discs
-
4. Choose accessories
1. Choose your cover
-
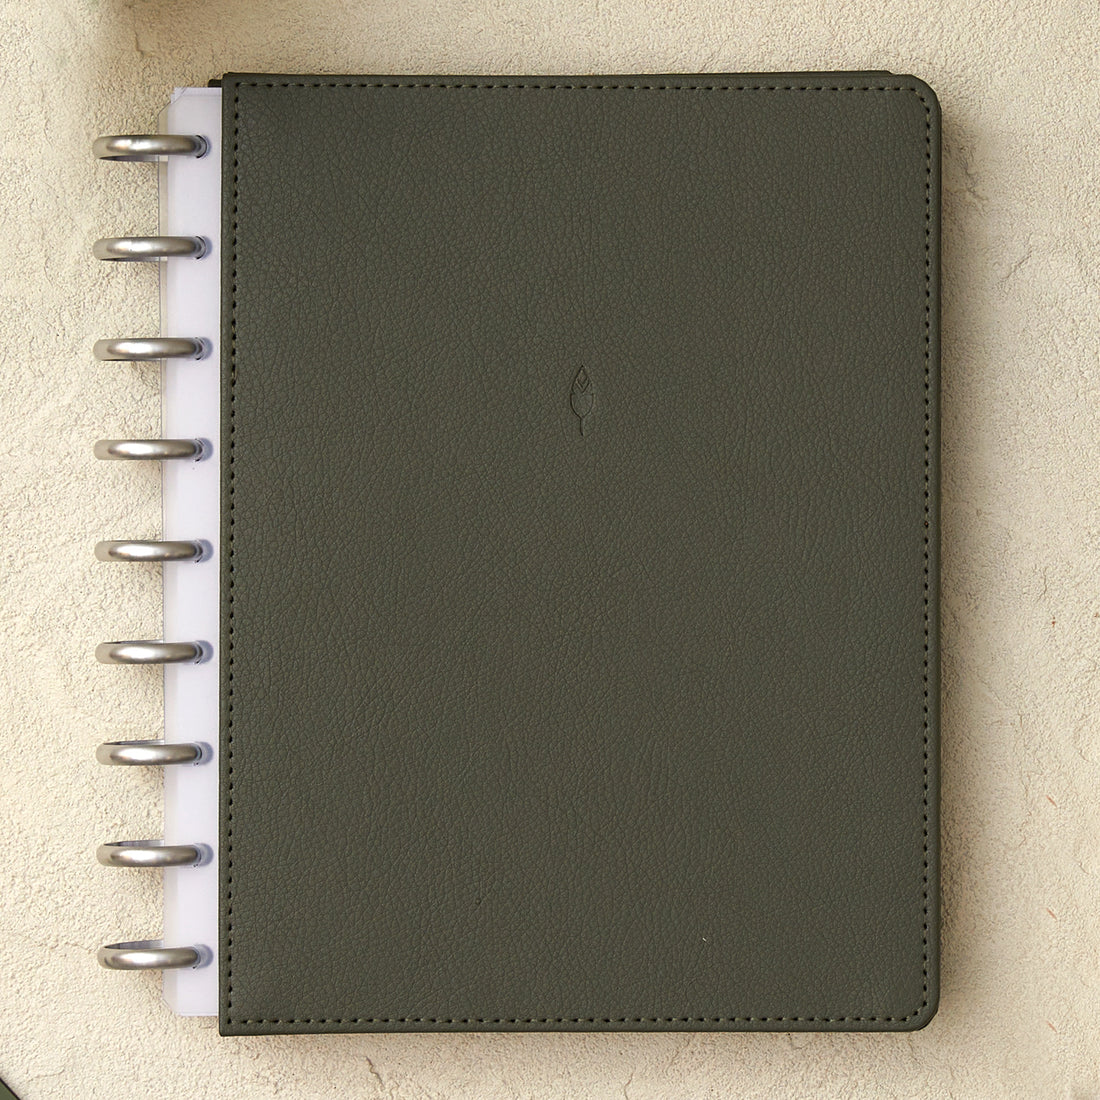
 Olive - Vegan Leather CoverOlive - Vegan Leather Cover
- Regular price
-
$ 25.00 - Regular price
-
- Sale price
-
$ 25.00
Add to cart NEWQuick view
-

 Yoko - Hard CoverYoko - Hard Cover
- Regular price
-
$ 22.00 - Regular price
-
- Sale price
-
$ 22.00
Add to cart NEWQuick view
-

 Curio Black - Hard CoverCurio Black - Hard Cover
- Regular price
-
$ 22.00 - Regular price
-
- Sale price
-
$ 22.00
Add to cart NEWQuick view
-
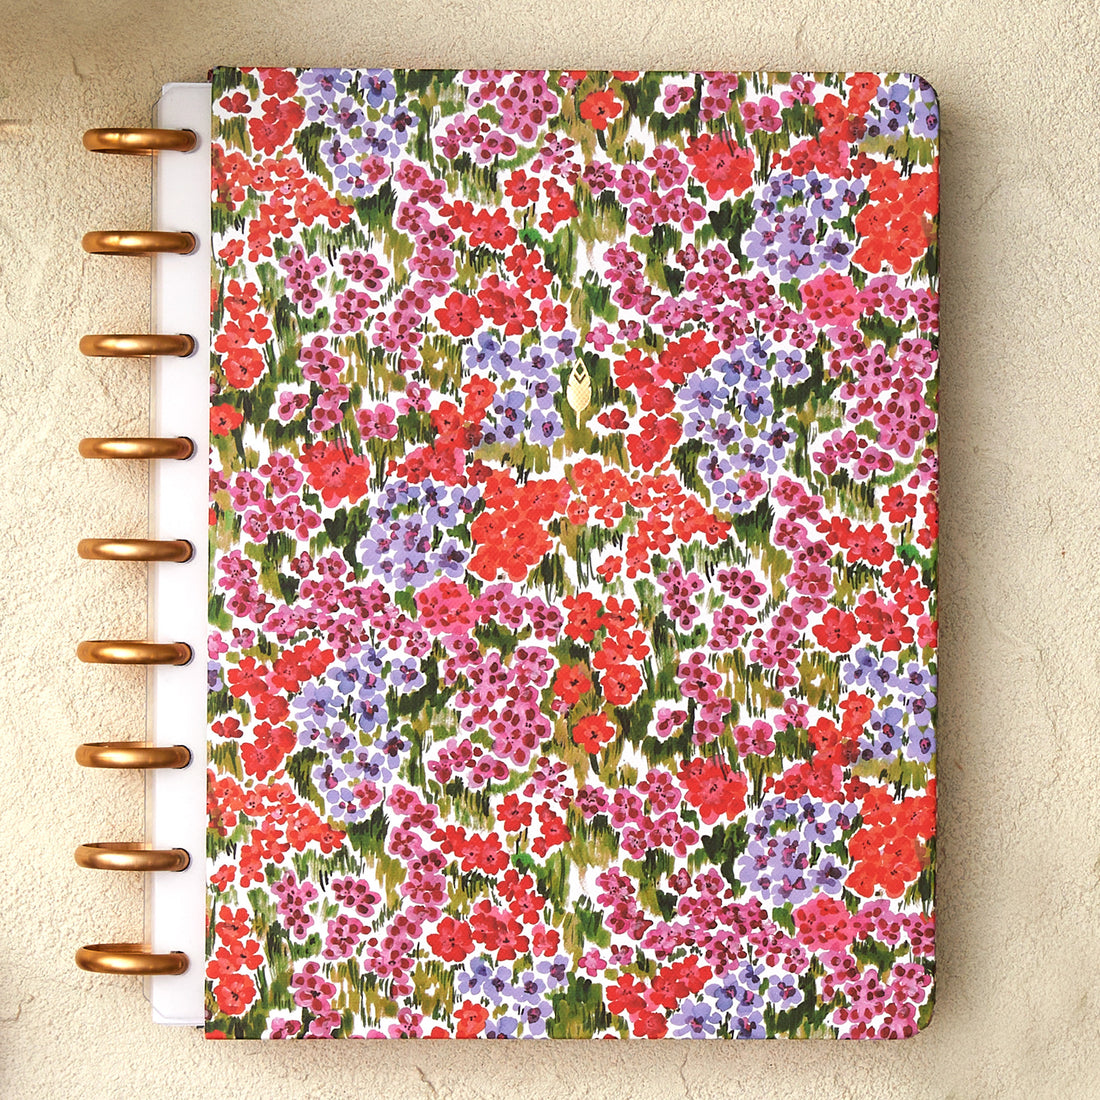
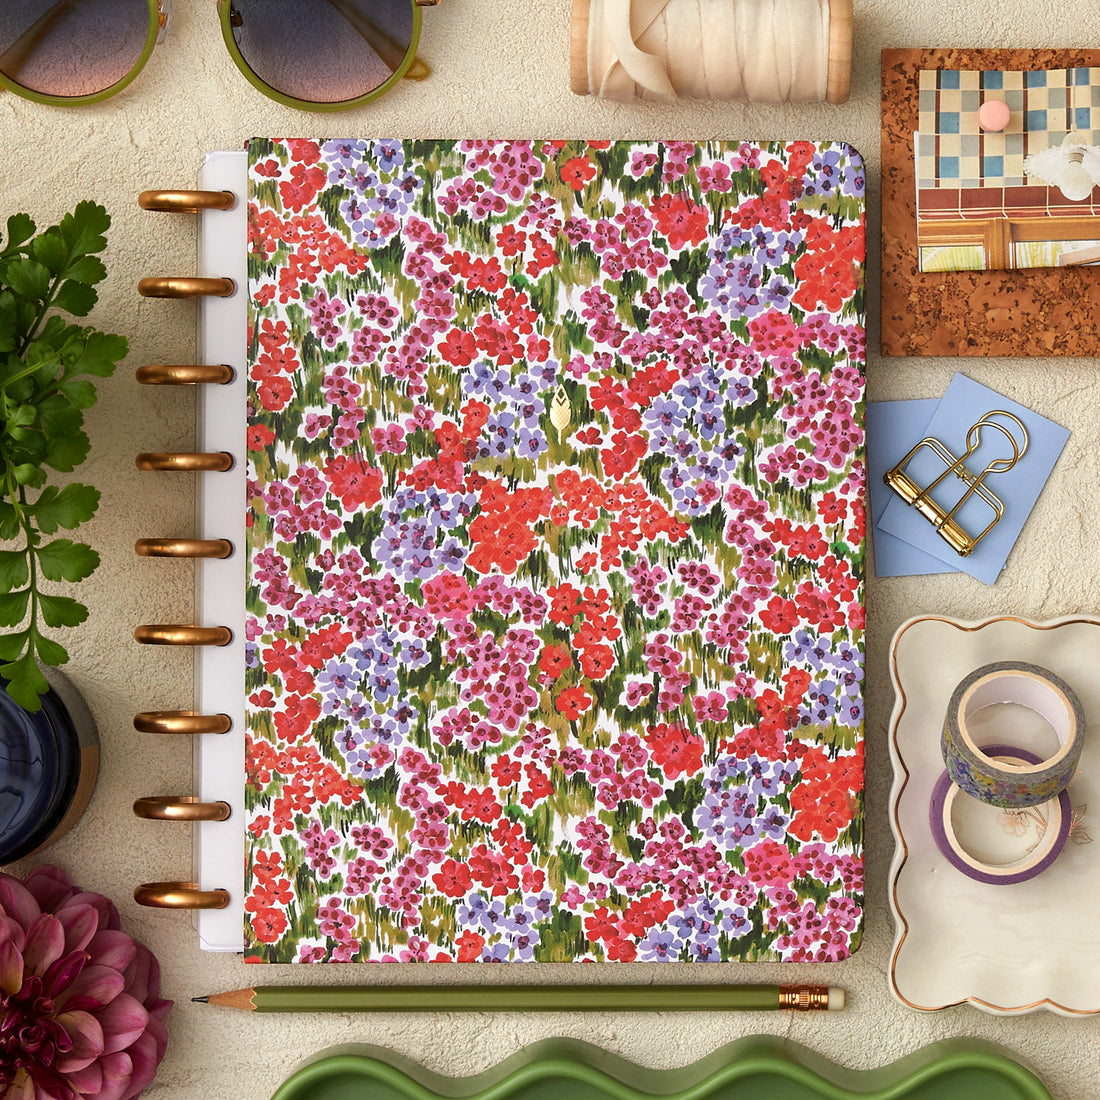 Beatrix - Hard CoverBeatrix - Hard Cover
- Regular price
-
$ 22.00 - Regular price
-
- Sale price
-
$ 22.00
Add to cart NEWQuick view
-

 Richmond Park - Hard CoverRichmond Park - Hard Cover
- Regular price
-
$ 22.00 - Regular price
-
- Sale price
-
$ 22.00
Add to cart Quick view
-
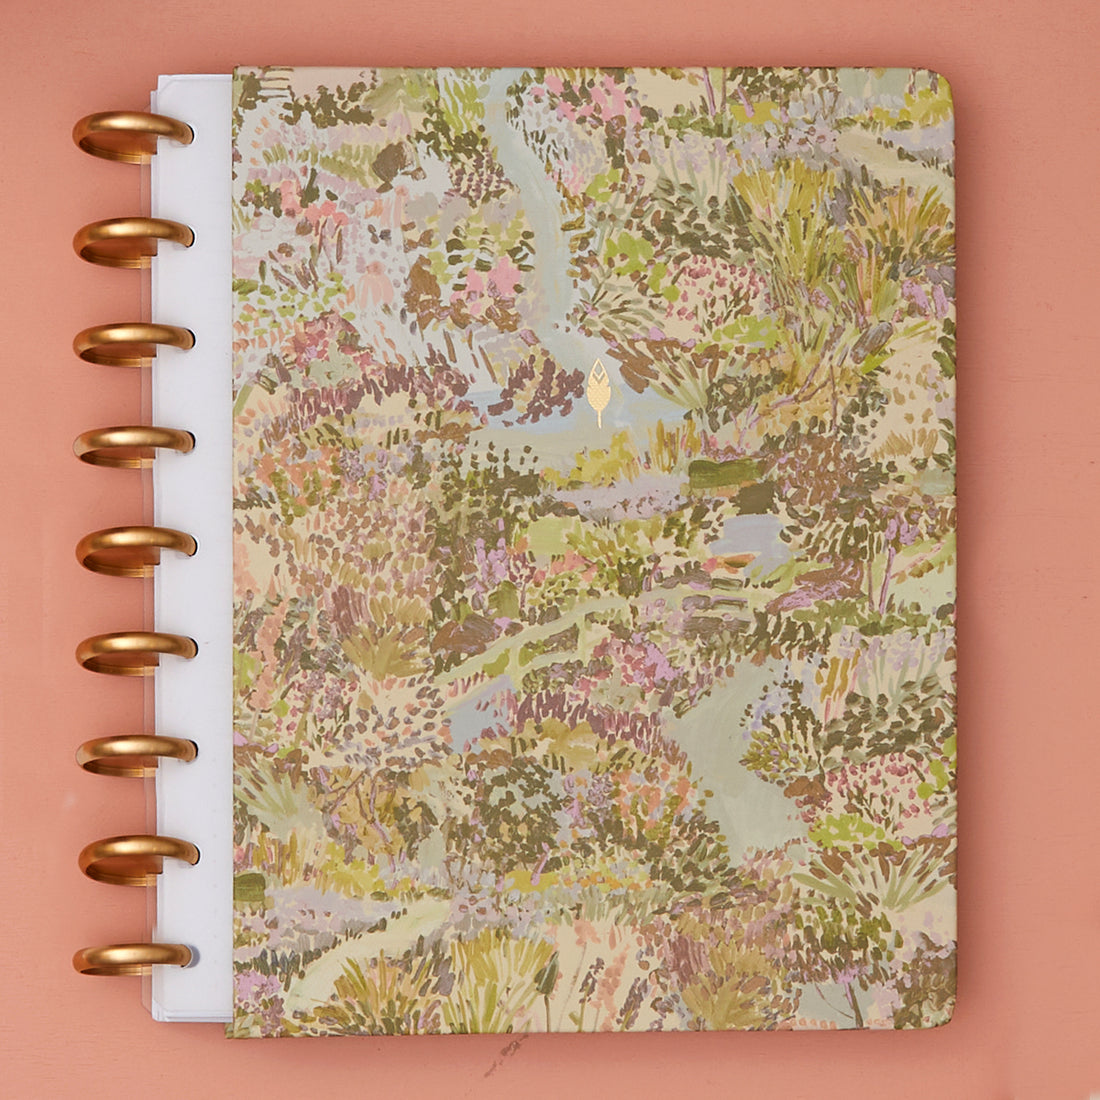
 Primrose Hill - Hard CoverPrimrose Hill - Hard Cover
- Regular price
-
$ 22.00 - Regular price
-
- Sale price
-
$ 22.00
Add to cart Quick view
-
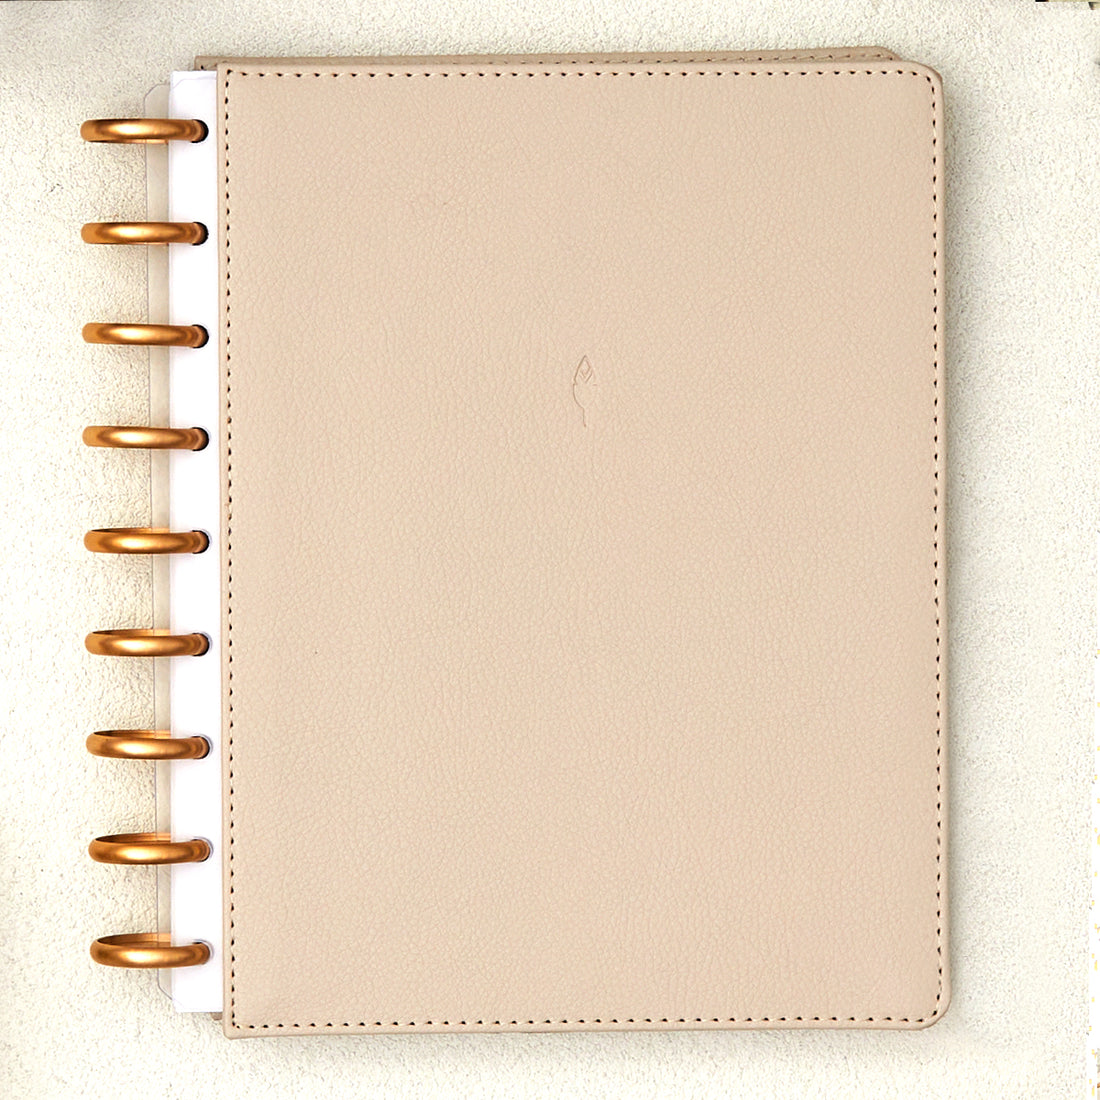
 Oat - Vegan Leather CoverOat - Vegan Leather Cover
- Regular price
-
$ 25.00 - Regular price
-
- Sale price
-
$ 25.00
Add to cart Quick view
-

 Majestic Stripe - Hard CoverMajestic Stripe - Hard Cover
- Regular price
-
$ 22.00 - Regular price
-
- Sale price
-
$ 22.00
Add to cart Quick view
2. Choose your insert
-
 2026 Flex Weekly Insert (Horizontal)2026 Flex Weekly Insert (Horizontal)
- Regular price
-
$ 34.00 - Regular price
-
- Sale price
-
$ 34.00
Add to cart NEWQuick view
-
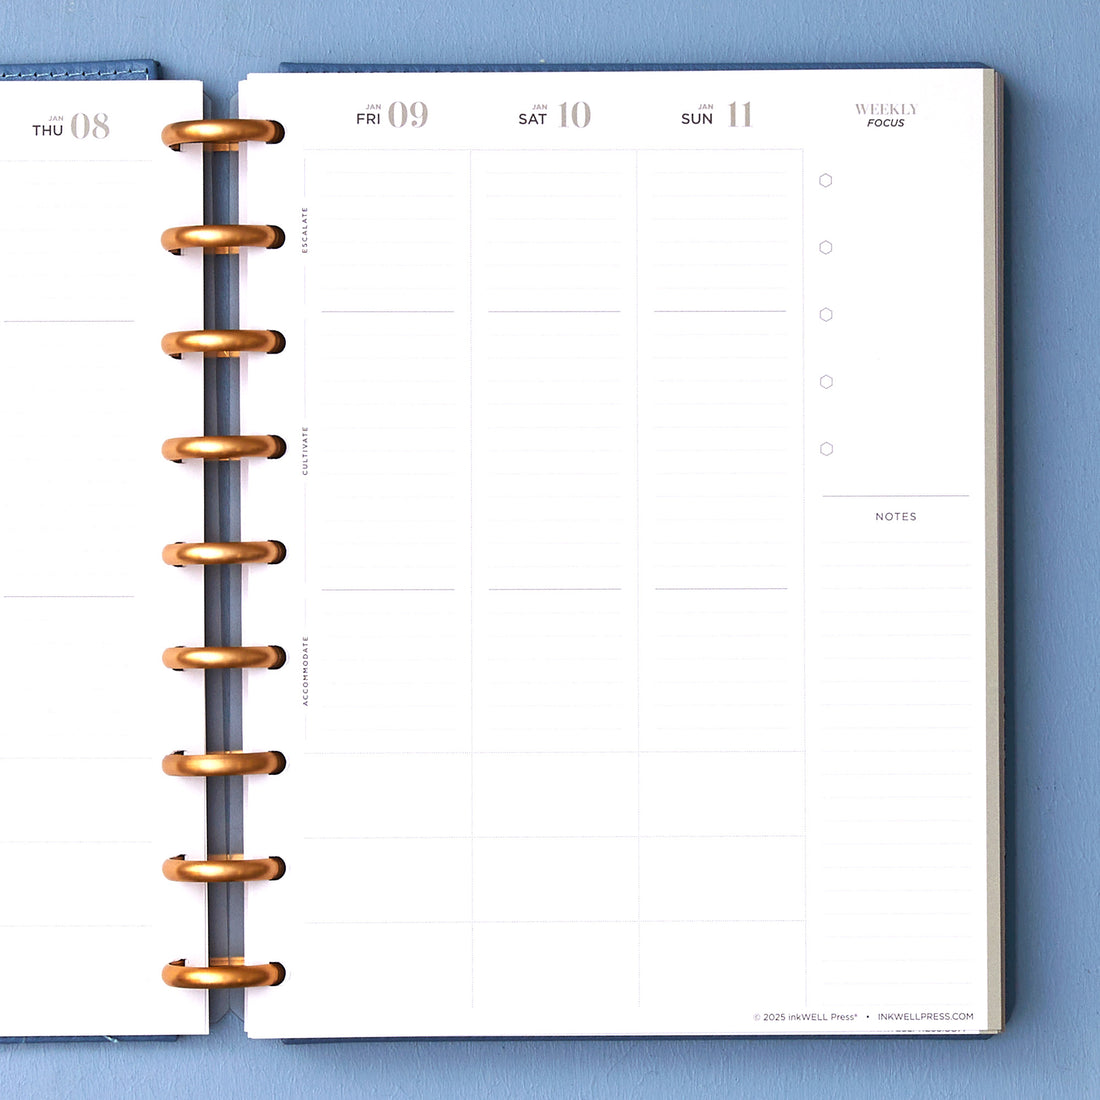 2026 Classic Weekly Insert (Vertical)2026 Classic Weekly Insert (Vertical)
- Regular price
-
$ 34.00 - Regular price
-
- Sale price
-
$ 34.00
Add to cart NEWQuick view
-
 2026 Monthly Insert2026 Monthly Insert
- Regular price
-
$ 22.00 - Regular price
-
- Sale price
-
$ 22.00
Add to cart NEWQuick view
-
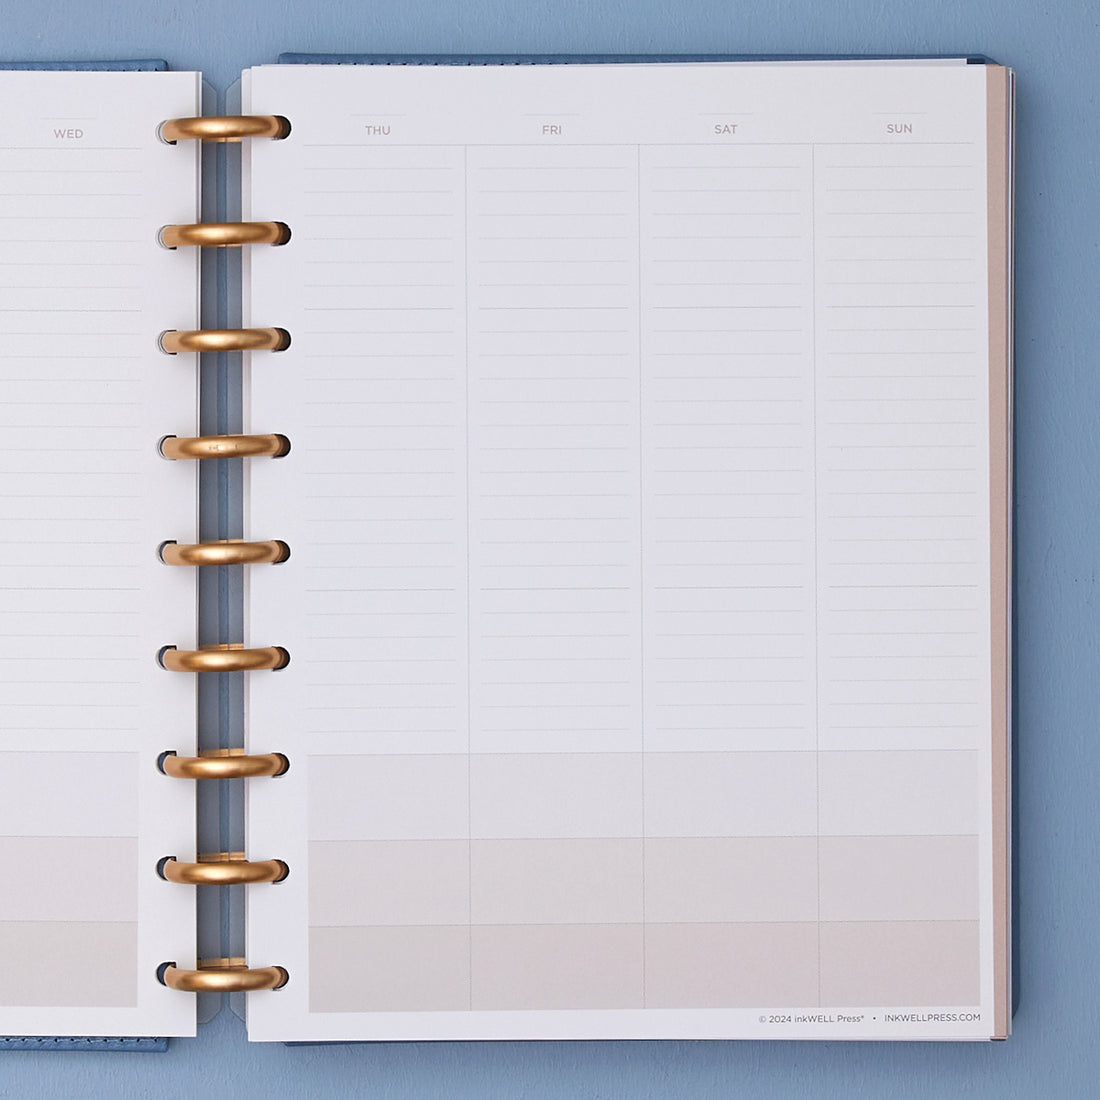 Classic Non-Dated Vertical Weekly MonthlyClassic Non-Dated Vertical Weekly Monthly
- Regular price
-
$ 34.00 - Regular price
-
- Sale price
-
$ 34.00
Add to cart NEWQuick view
-
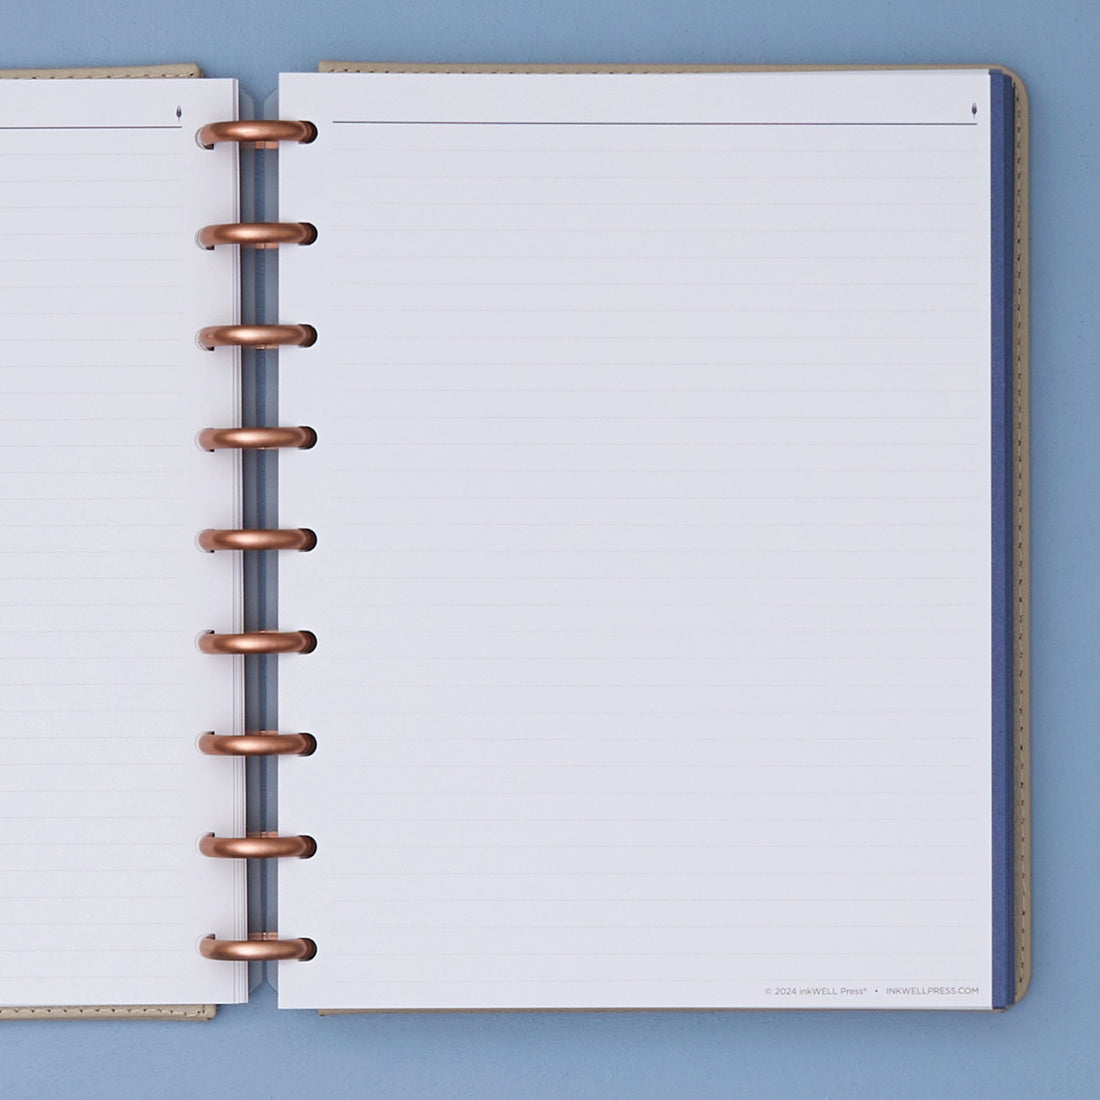 Lined Notes PLUSLined Notes PLUS
- Regular price
-
$ 30.00 - Regular price
-
- Sale price
-
$ 30.00
Add to cart NEWQuick view
-
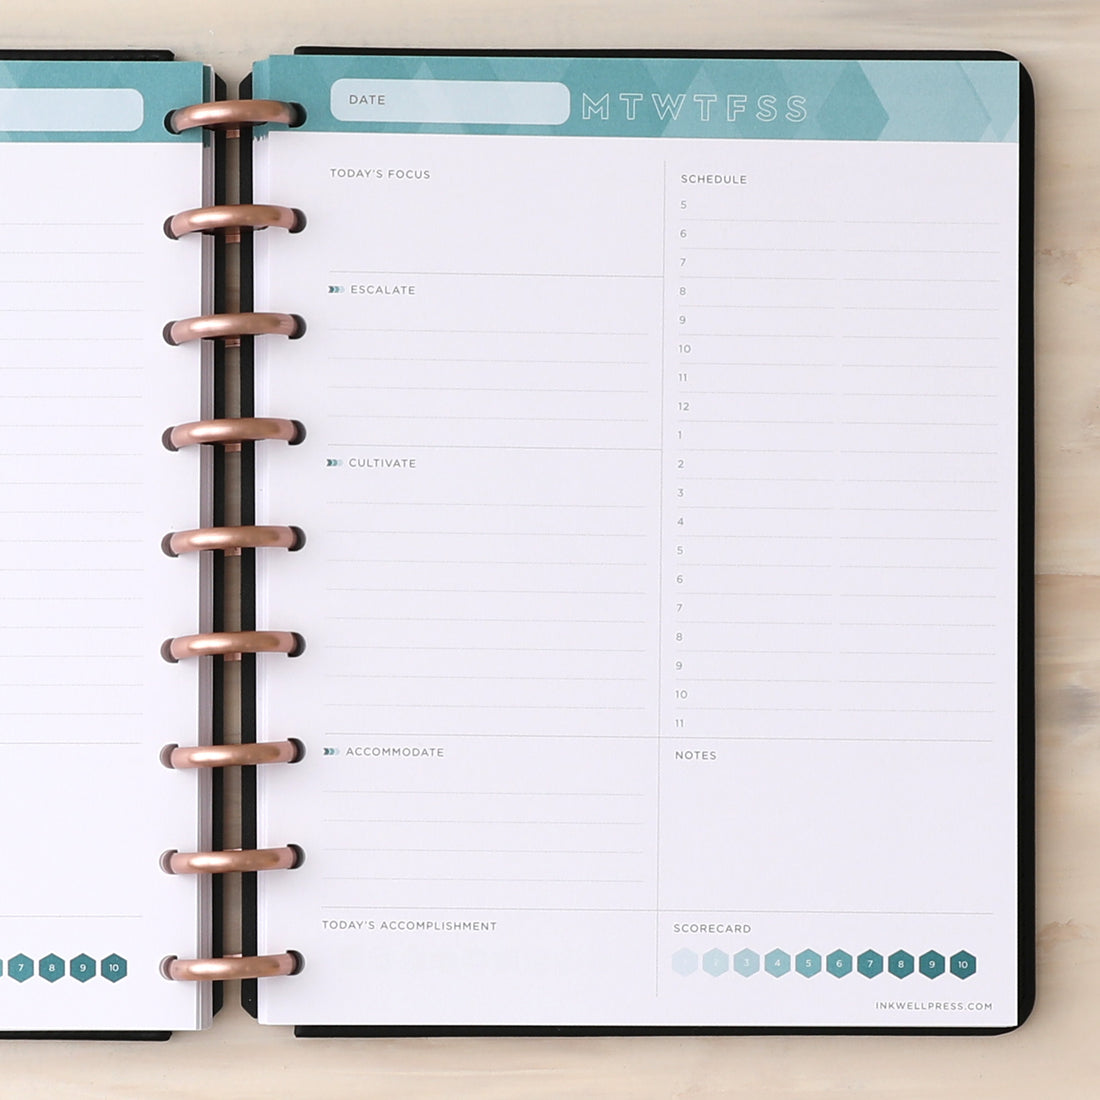 Daily Planner Insert | UndatedDaily Planner Insert | Undated
- Regular price
-
$ 29.00 - Regular price
-
- Sale price
-
$ 29.00
Add to cart Quick view
-
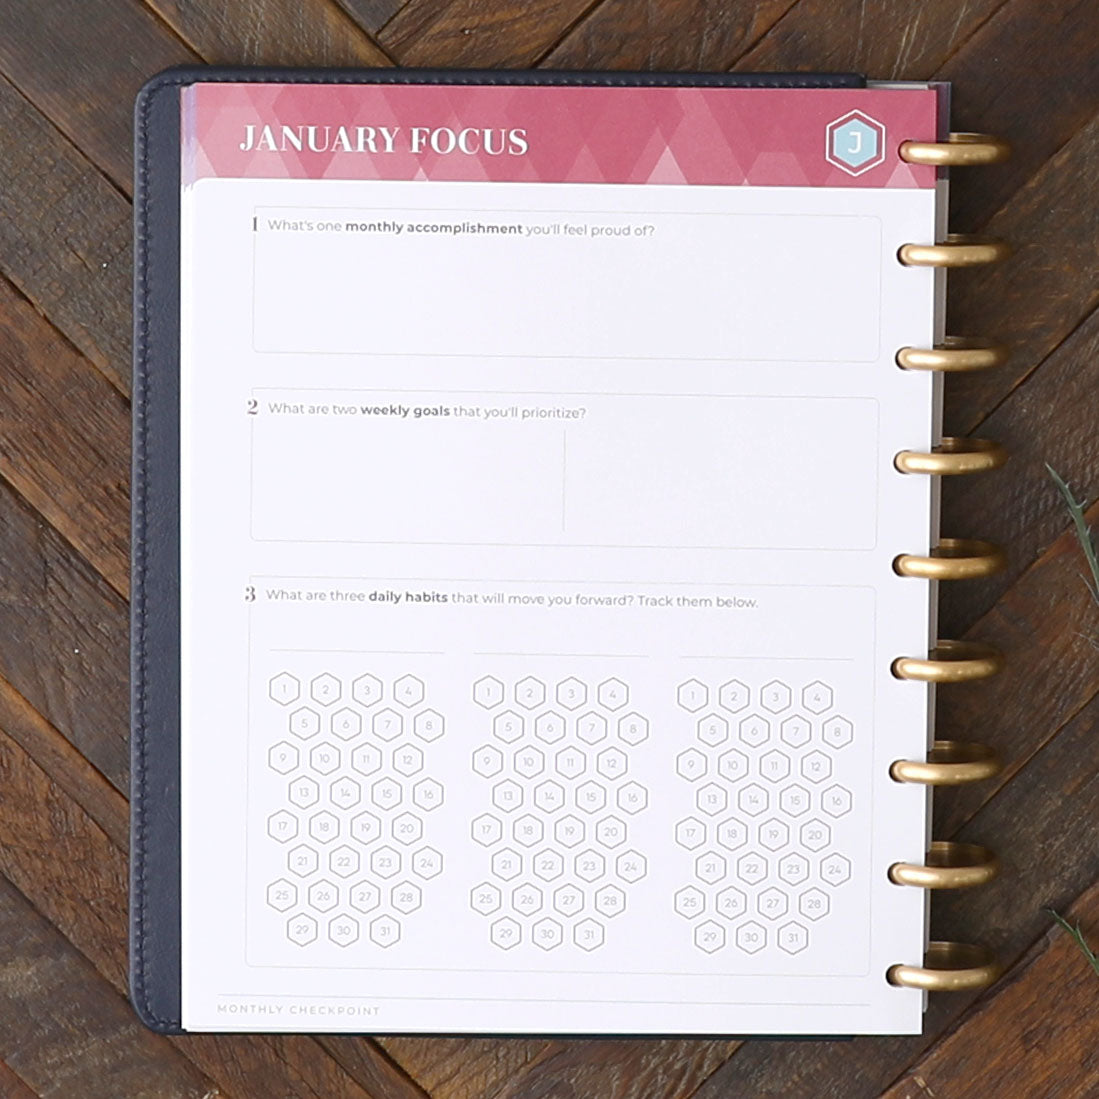 Goal Setting Planner InsertGoal Setting Planner Insert
- Regular price
-
$ 29.00 - Regular price
-
- Sale price
-
$ 29.00
Add to cart Quick view
-
 Dot Matrix Notes Pages InsertDot Matrix Notes Pages Insert
- Regular price
-
$ 15.00 - Regular price
-
- Sale price
-
$ 15.00
Add to cart Quick view
3. Choose your discs
-
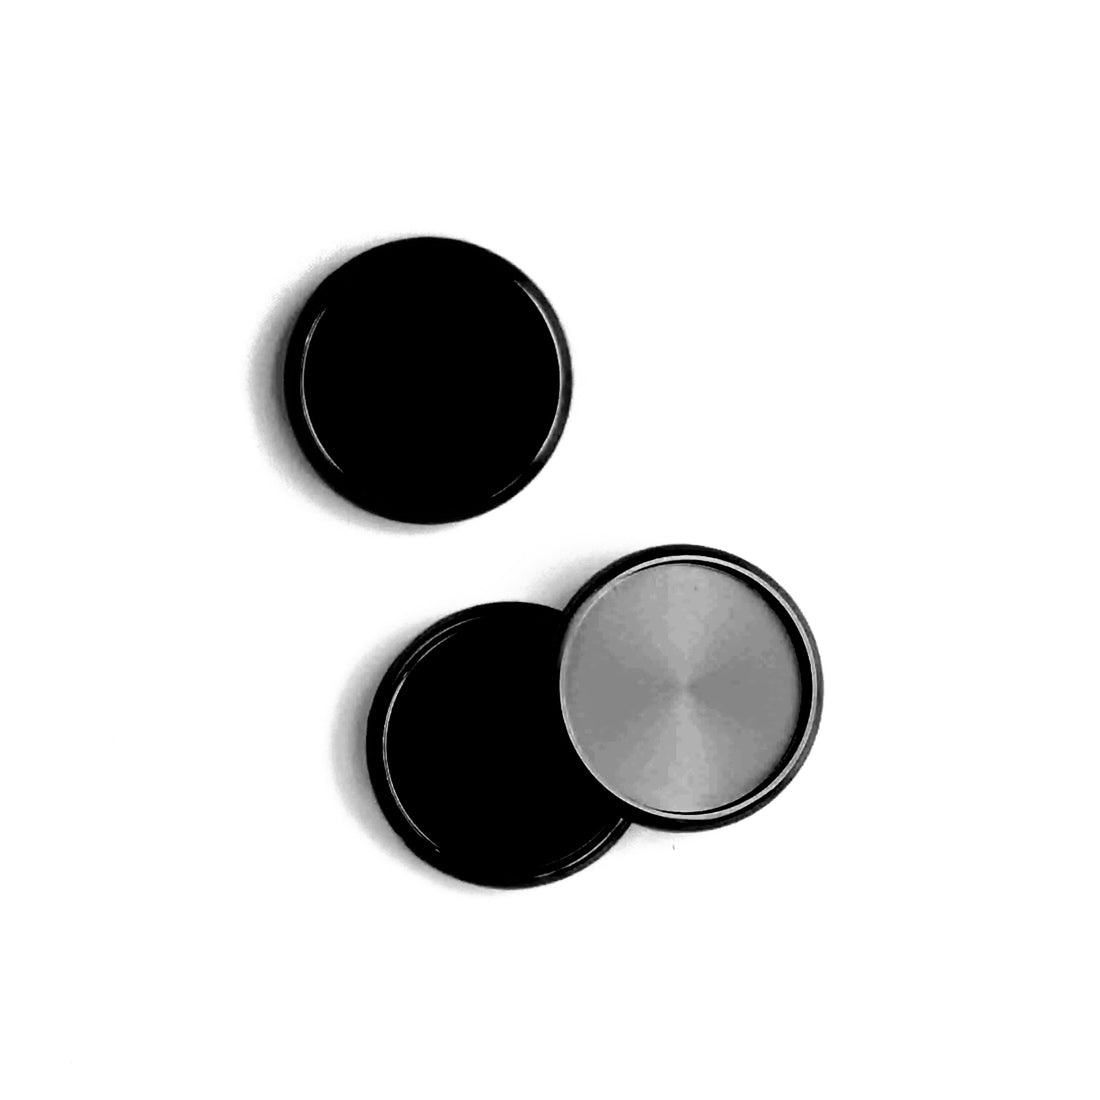
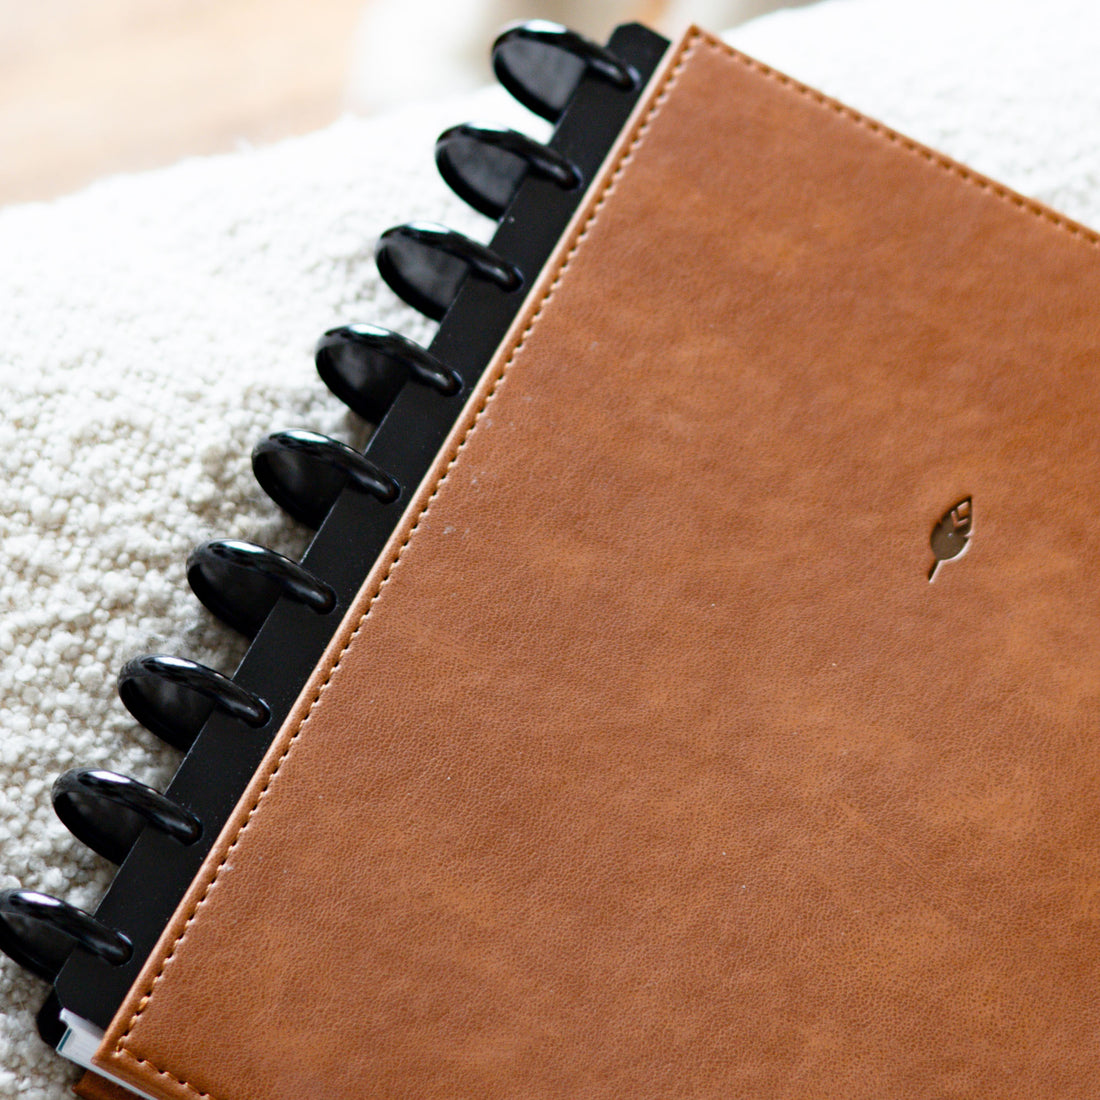 Set of 9 Noir Black DiscsSet of 9 Noir Black Discs
- Regular price
-
$ 22.00 - Regular price
-
- Sale price
-
$ 22.00
Add to cart Quick view
-
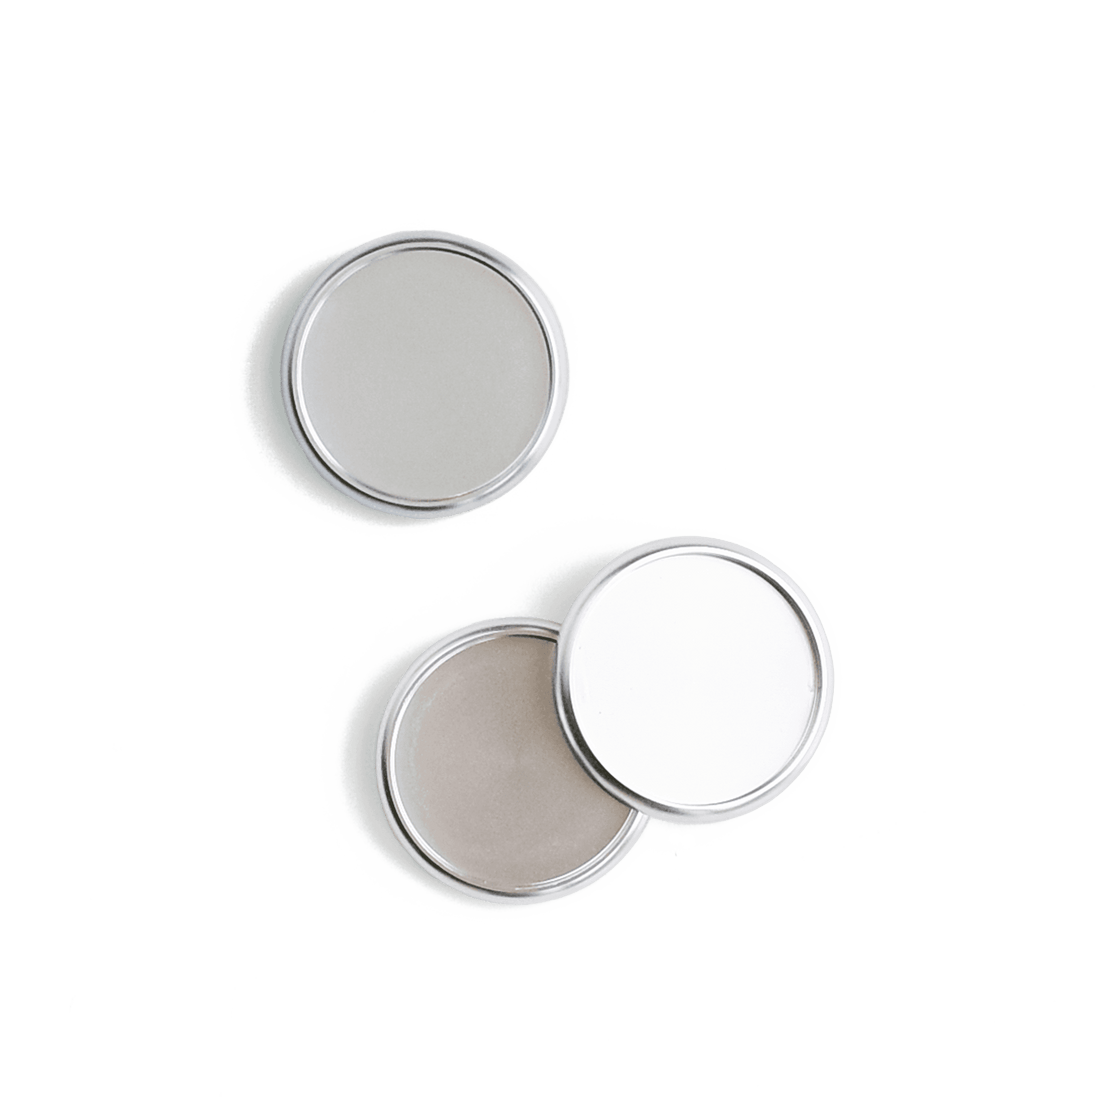
 Set of 9 Silver DiscsSet of 9 Silver Discs
- Regular price
-
$ 22.00 - Regular price
-
- Sale price
-
$ 22.00
Add to cart Quick view
-
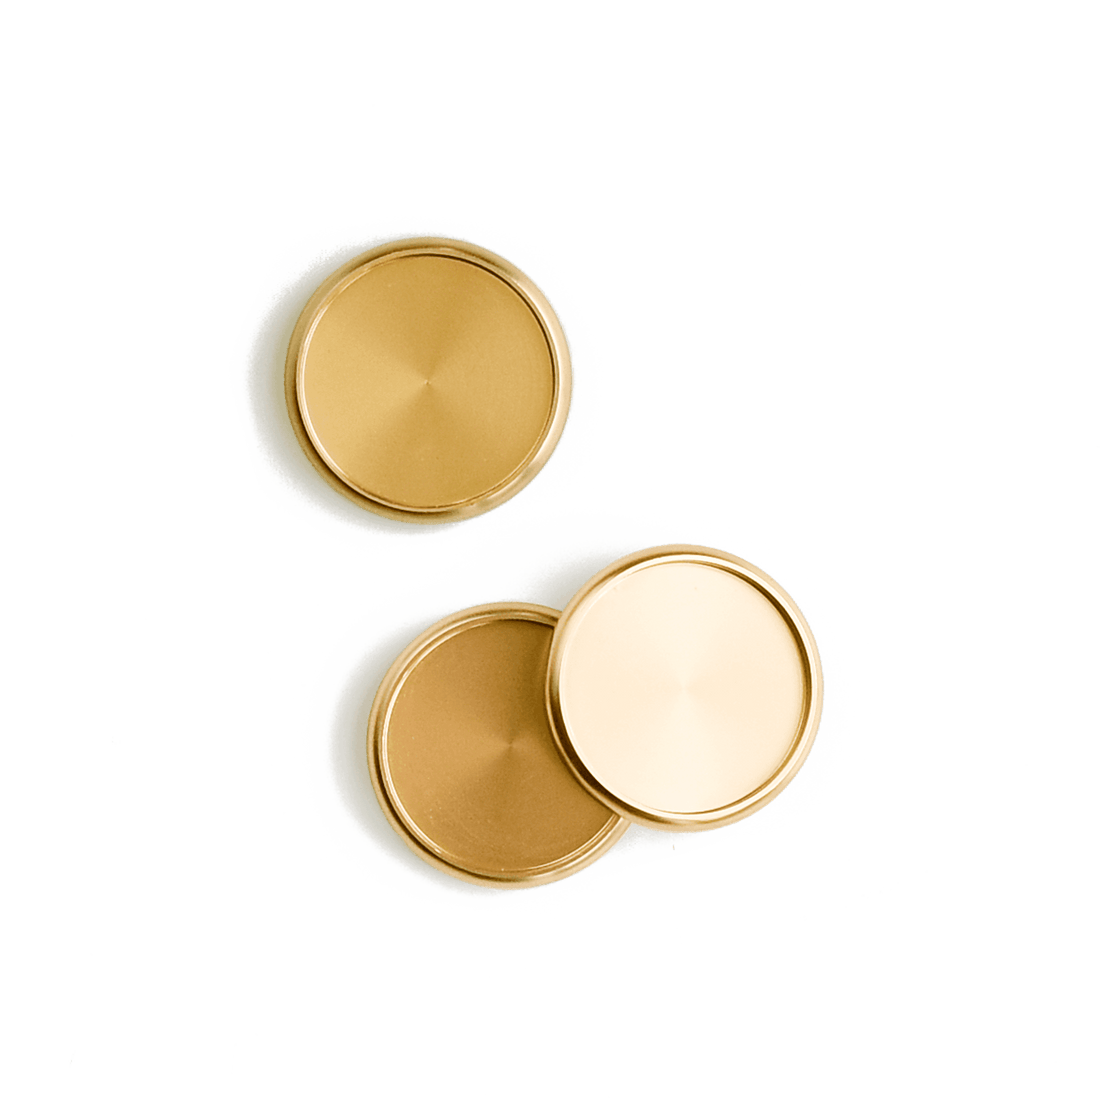
 Set of 9 Gold DiscsSet of 9 Gold Discs
- Regular price
-
$ 22.00 - Regular price
-
- Sale price
-
$ 22.00
Add to cart Quick view
-
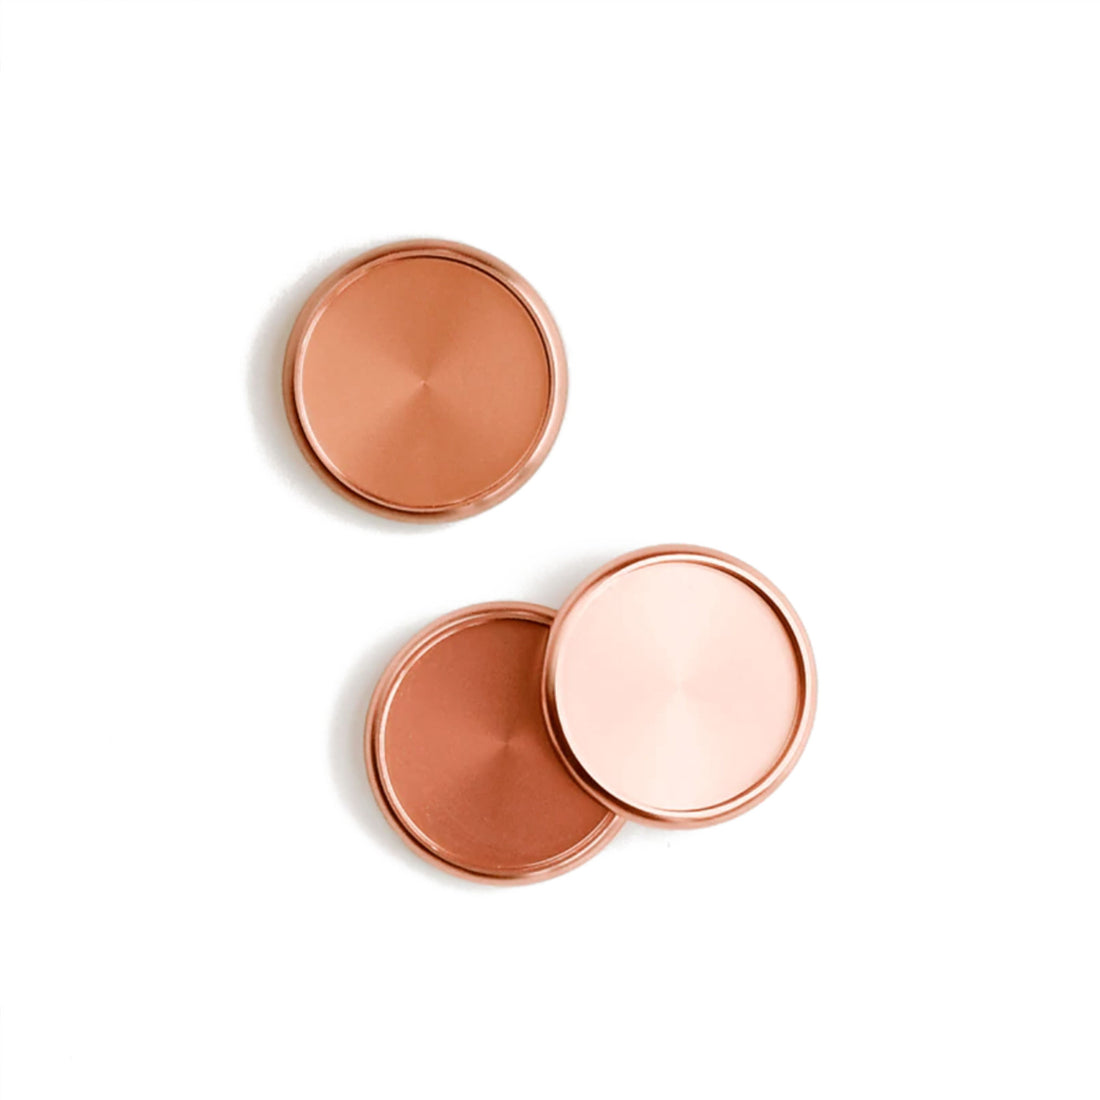
 Set of 9 Rose Gold DiscsSet of 9 Rose Gold Discs
- Regular price
-
$ 22.00 - Regular price
-
- Sale price
-
$ 22.00
Add to cart Quick view
4. Choose accessories
-
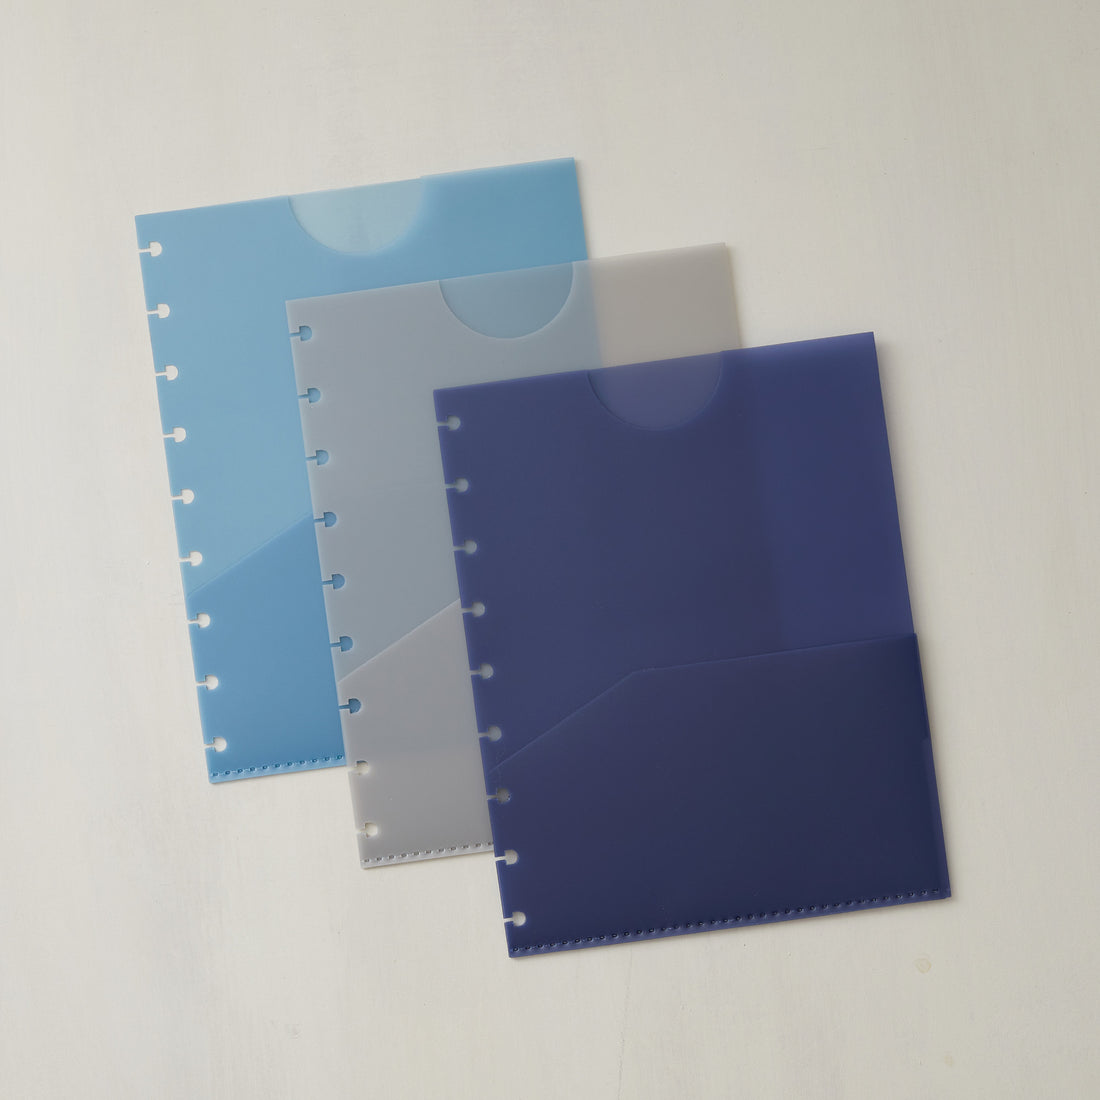
 Triple Pocket 3-PackTriple Pocket 3-Pack
- Regular price
-
$ 8.00 - Regular price
-
- Sale price
-
$ 8.00
NEW Sold outQuick view
-

 Triple PocketTriple Pocket
- Regular price
-
$ 6.00 - Regular price
-
- Sale price
-
$ 6.00
Sold outQuick view
-
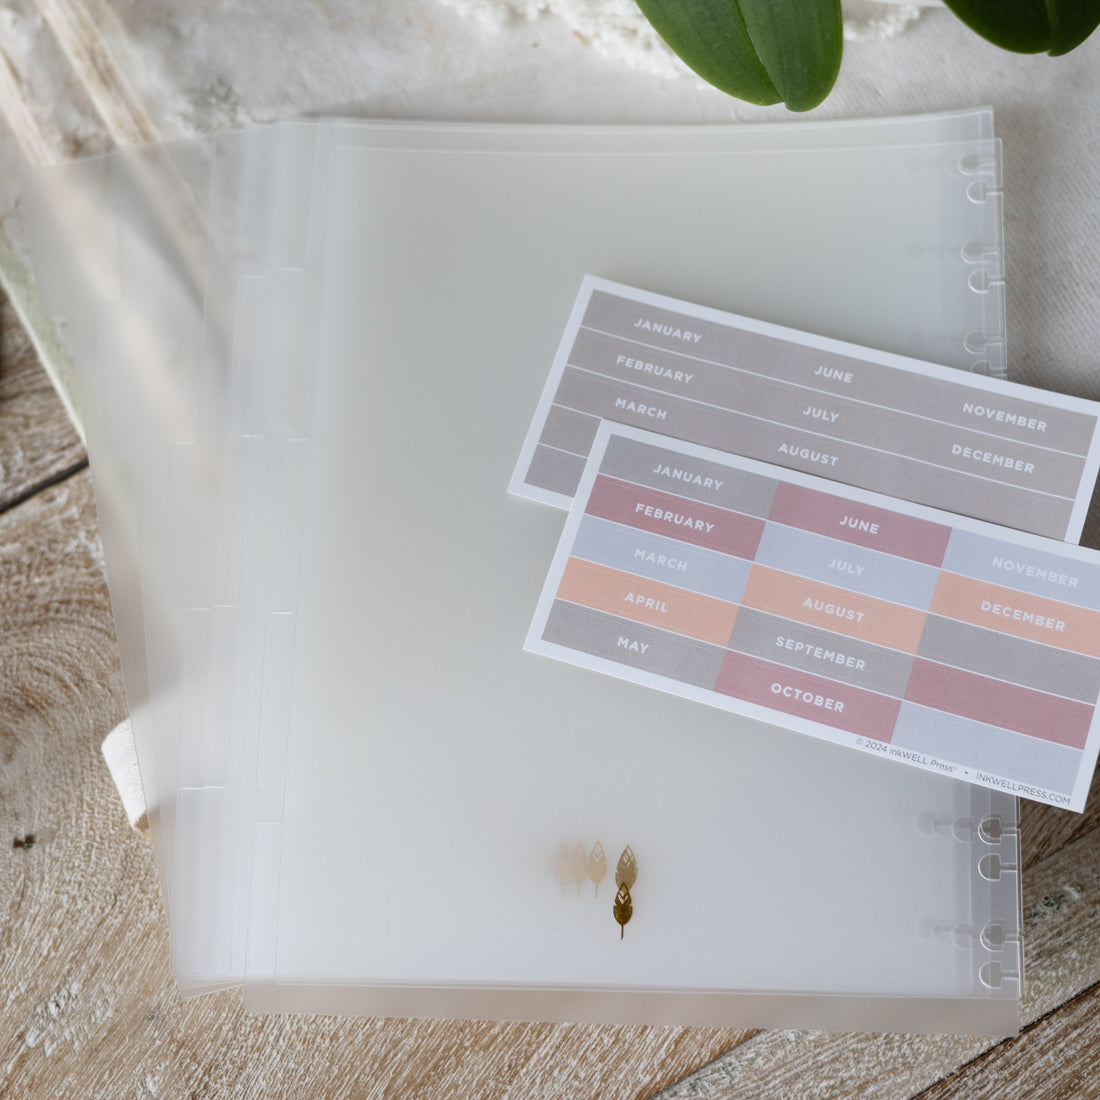
 Poly Monthly Tabs - January to DecemberPoly Monthly Tabs - January to December
- Regular price
-
$ 15.00 - Regular price
-
- Sale price
-
$ 15.00
Sold outQuick view
-
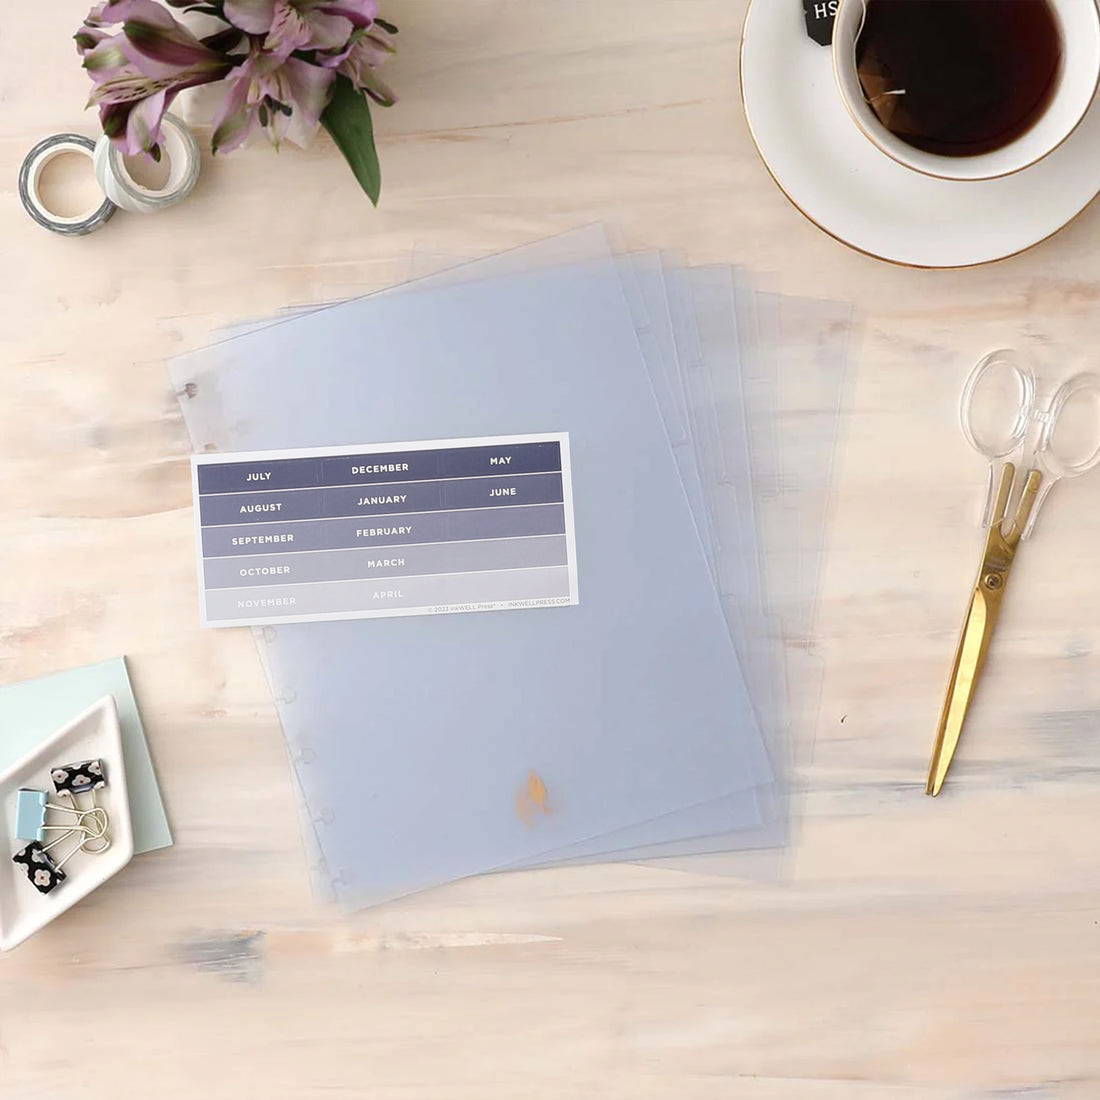
 Poly Monthly Tabs - July to JunePoly Monthly Tabs - July to June
- Regular price
-
$ 15.00 - Regular price
-
- Sale price
-
$ 15.00
Add to cart Quick view
-
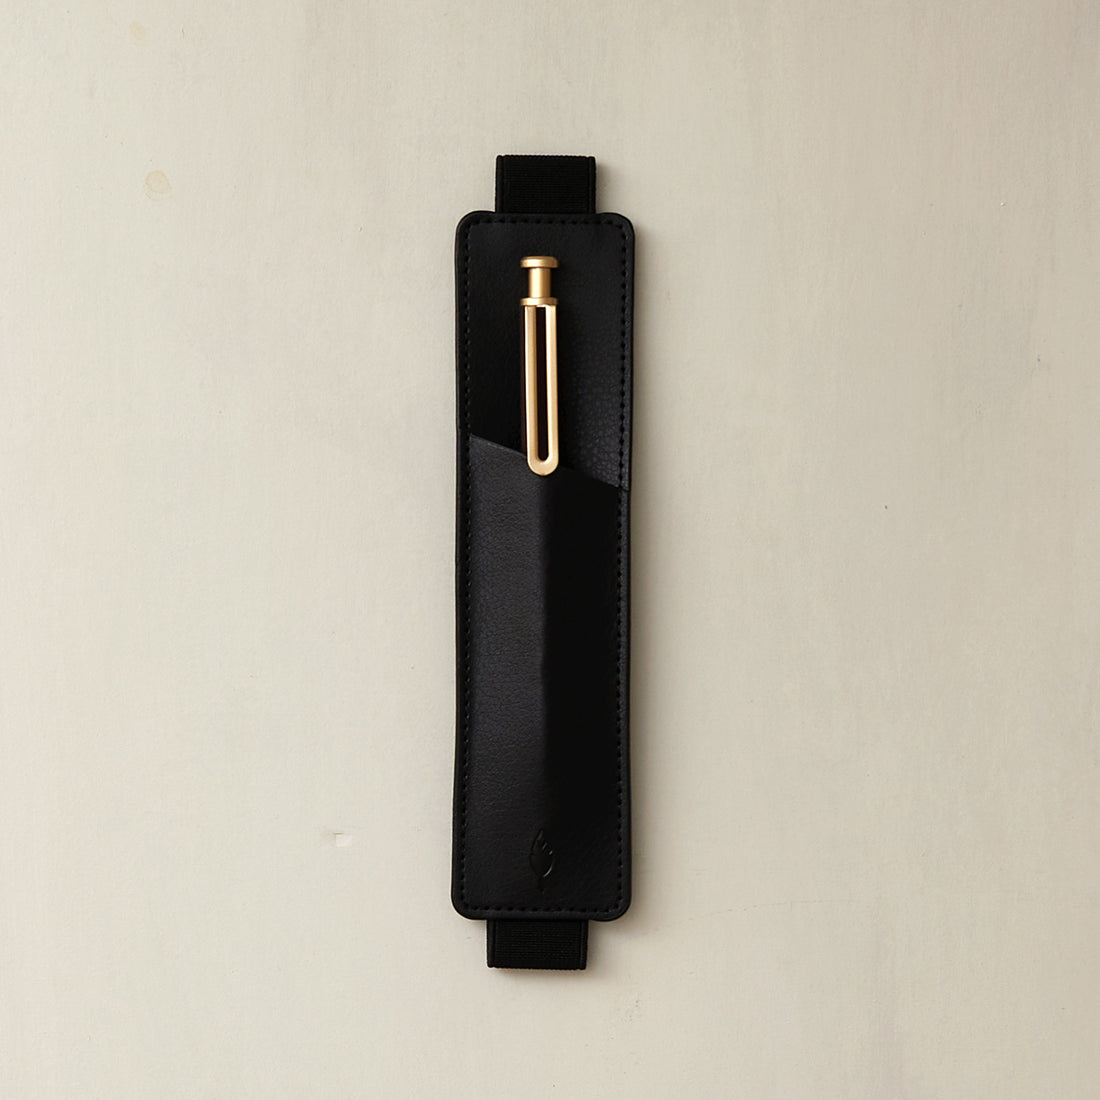
 Pen Pouch - BlackPen Pouch - Black
- Regular price
-
$ 11.00 - Regular price
-
- Sale price
-
$ 11.00
Add to cart NEWQuick view
-

 Gilded Cranes Journal 5.75 x 8.50Gilded Cranes Journal 5.75 x 8.50
- Regular price
-
$ 15.00 - Regular price
-
- Sale price
-
$ 15.00
Sold outQuick view
-
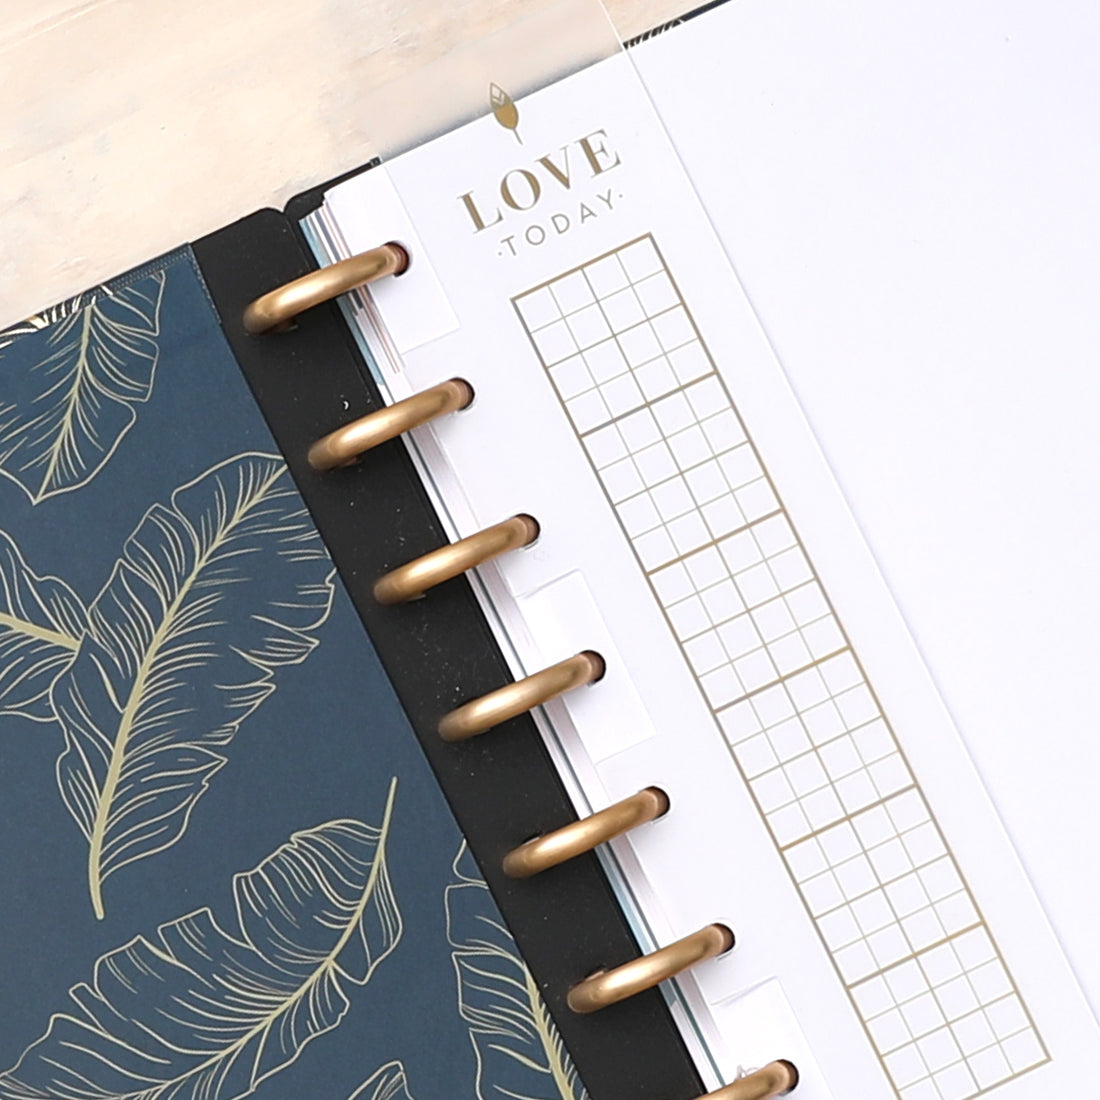
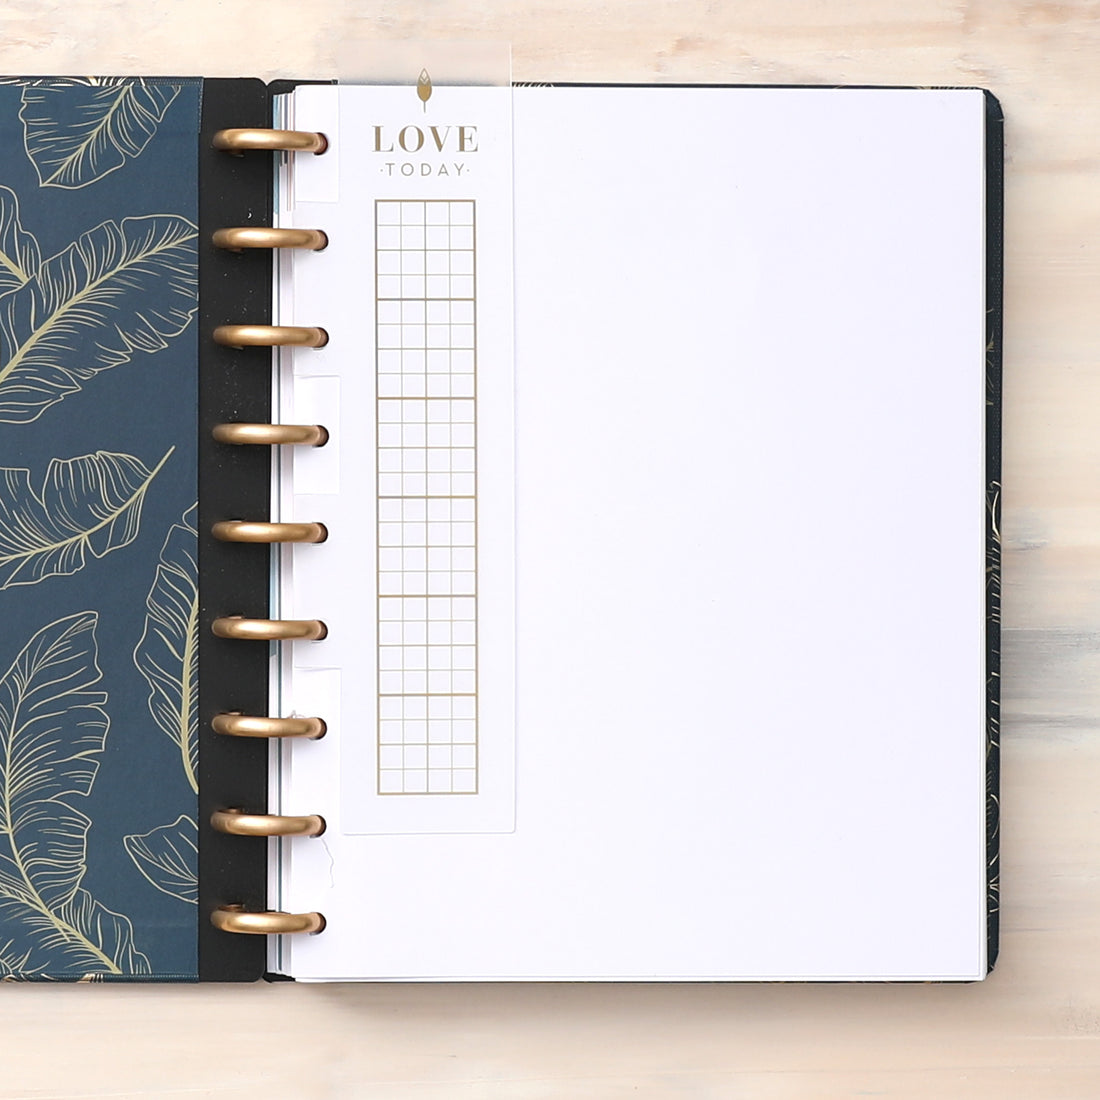 Love Today - BookmarkLove Today - Bookmark
- Regular price
-
$ 4.00 - Regular price
-
- Sale price
-
$ 4.00
Add to cart Quick view


